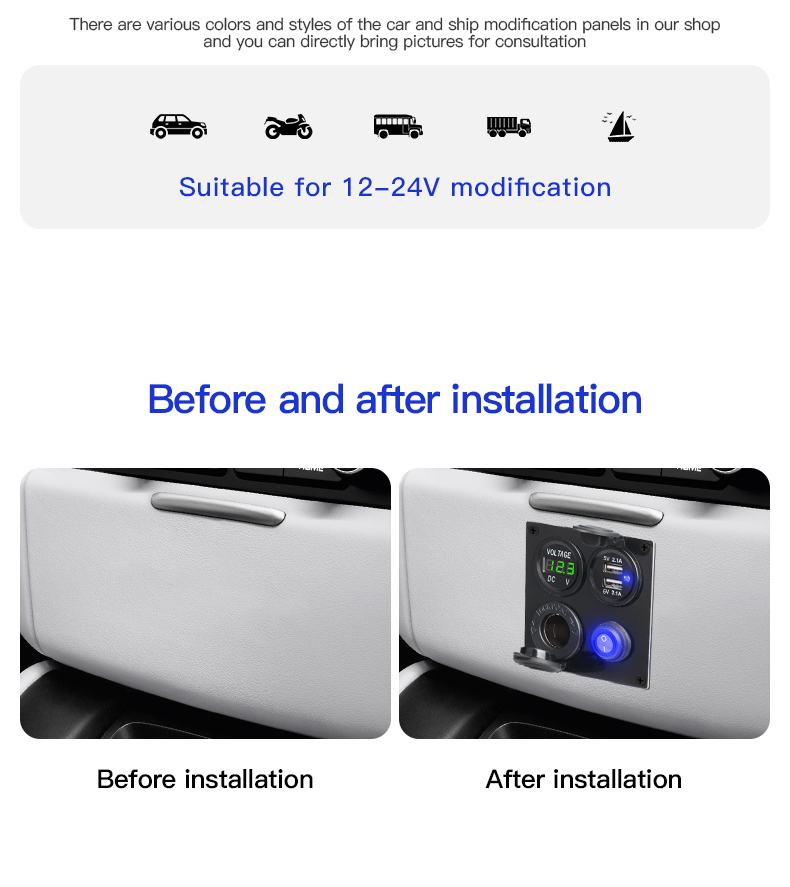
6 steps to install a marine switch panel
Installing a marine switches panel can be a challenging task, but with the right tools and knowledge, it can be done by a DIY enthusiast.
Before starting the installation, gather all necessary tools and materials. You will need:
- A marine switch panel
- A drill
- Hole saws
- Screws
- A wire cutter
- A wire stripper
- Electrical tape
- Heat shrink tubing (optional)
Step 1: Plan the layout of the marine switches panel
Before making any holes in your boat, carefully plan the layout of the switch panel. Decide where you want to mount the marine switches panel, and what size and shape it should be. Make sure the location is easily accessible and does not interfere with other equipment.
Step 2: Mark and drill the holes for marine switch panel
Using a pencil, mark the locations of the holes for the switches and wiring. Use the hole saws to drill the holes for the switches, and the drill for the wiring holes. Make sure the holes are the correct size and shape for your marine switch panel.
Step 3: Run the wiring of marine switches panel
Next, run the wiring for the marine switches panel. Start by running a positive and negative wire from the battery to the switch panel location. Make sure to use marine-grade wire and properly secure it to prevent chafing. Then, run wires from each switch to the corresponding device or component that it controls.
Step 4: Connect the switches and devices
Now it’s time to connect the switches and devices to the panel. Connect the positive and negative wires to the marine switches panel, and the wires from the switches to the corresponding devices. Use wire cutter and stripper to strip the wire then use a crimper to connect the wire to the switch panel.
Step 5: Test the marine switch panel
Before mounting the marine switch panel to the boat, test it to make sure all the switches and devices are working correctly. Turn on the battery and test each switch to make sure it controls the corresponding device or component.
Step 6: Mount the marine switches panel
Finally, mount the marine switches panel to the boat using screws. Make sure the panel is securely attached and the switches and wiring are not damaged.
In addition, It is recommended to seal any open holes or gaps with silicone or another marine-grade sealant to prevent water infiltration.
It’s important to note that marine electrical systems must be installed by a professional marine electrician or certified technician, following the strict guidelines and regulations to ensure safety and compliance with industry standards.
In summary, installing marine switch panels requires careful planning, attention to detail, and a thorough understanding of marine electrical systems. It is a challenging task, but with the right tools and knowledge, it can be done by a DIY enthusiast.

Where should i install the marine switch panels?
When it comes to installing marine switch panels, choosing the right location is crucial for safety, functionality, and ease of use. Here are some guidelines to help you determine the best location for your marine switch panel.
Consider access and visibility of marine switch panels
The first thing to consider when choosing a location for your marine switch panel is access and visibility. The panel should be in a location that is easily accessible and visible to the person operating the boat. It should also be within reach of the helm or navigation station for easy access.
Consider safety and environment for the marine switch panels
Safety is also a key consideration when choosing a location for your marine switch panel. The panel should be located in an area that is protected from water, salt, and other elements that can cause damage. This may mean mounting the panel in a protected area of the boat, such as the cockpit or pilothouse. It should also be placed away from any high-traffic areas or potential sources of heat or sparks.
Consider ergonomics of marine switch panels
Ergonomics is also an important consideration when choosing a location for your marine switch panels. The panel should be located at a comfortable height and angle for the person operating the boat, so that they don’t have to strain or reach to access the switches.
Consider the layout of the boat
The layout of the boat is another important factor to consider when choosing a location for your marine switch panels. The panel should be located in a location that makes sense for the layout of the boat. For example, if your boat has a separate engine room, the panel may be located there to control engine and generator functions.
Consider future upgrades
It’s also a good idea to consider any potential future upgrades or additions when choosing a location for your marine switch panel. This will ensure that the panel is easily expandable if you ever decide to add more switches or devices to the boat.
Once you have taken into account all of these factors, you will be able to choose the best location for your marine switch panels.
When installing the marine switches panel, it’s essential to be mindful of the regulations that are followed by marinas, boatyards and insurance companies. They may have specific rules about where the switch panels are allowed to be located.
In addition, it’s always recommended to consult with a certified marine electrician for proper installation, maintenance, and for any necessary upgrades. They are familiar with the regulations and codes that need to be followed.
Finally, Remember that a properly installed marine switch panel is essential for the safety, functionality, and ease of use of your boat. Choosing the right location for your panel is an important step in ensuring that it meets these criteria.

In summary, when installing a marine switch panels, it’s important to consider factors such as access and visibility, safety and environment, ergonomics, the layout of the boat, and any potential future upgrades. A proper location of the panel is crucial for safety, functionality, and ease of use. It’s always recommended to follow the regulations, industry standards and consulting with a certified marine electrician to ensure proper installation, maintenance and compliance.
